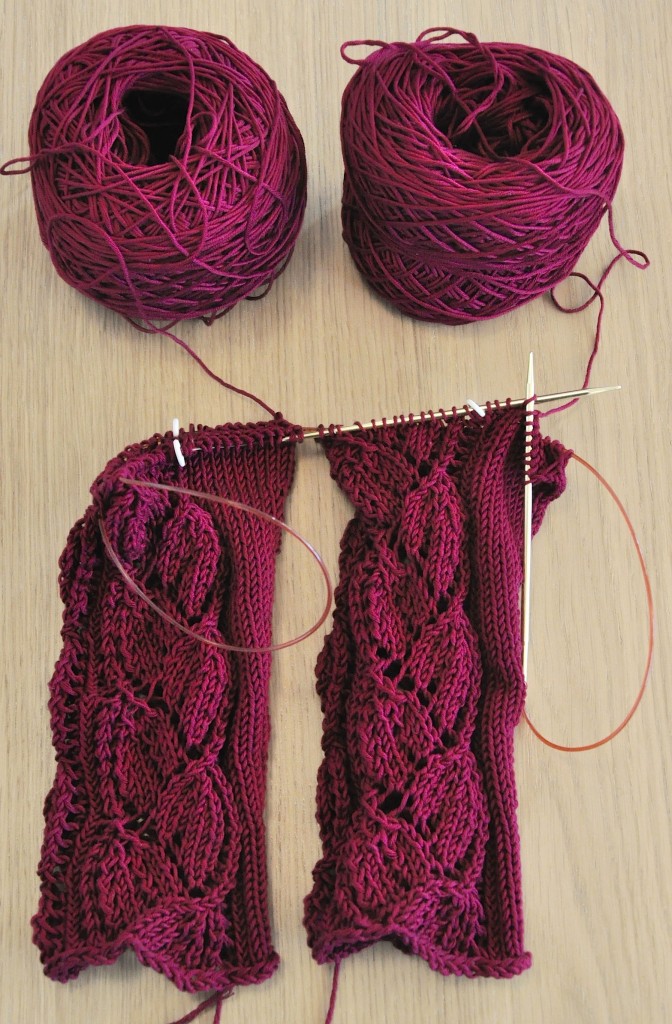
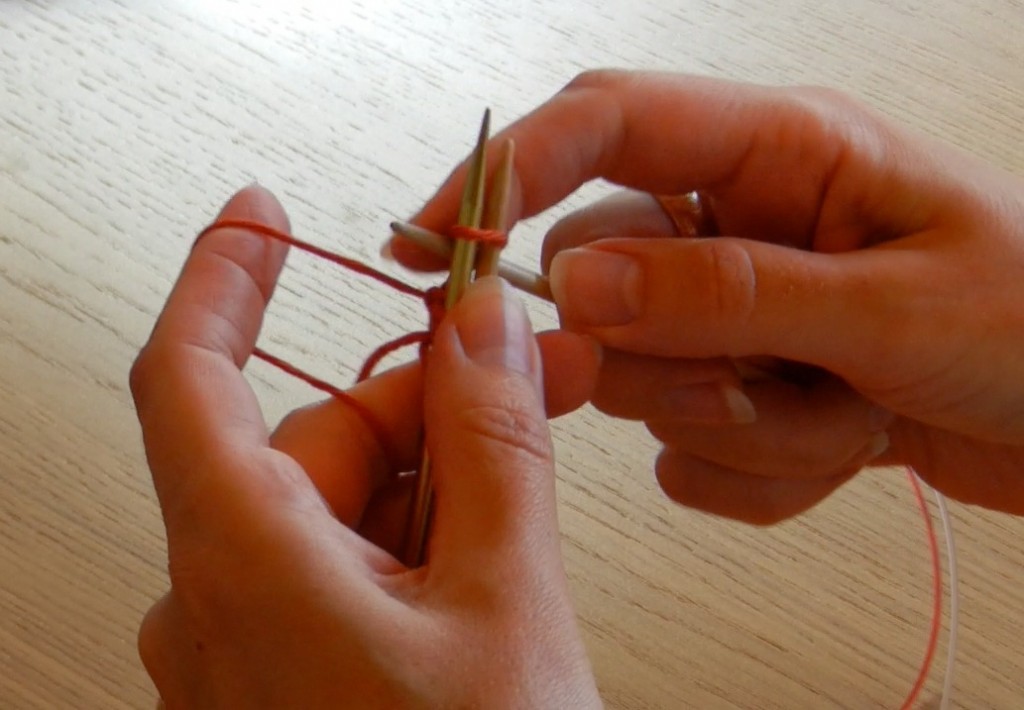
I have finally mastered knitting two sleeves at a time using magic loop. Double pointed needles I can handle but I have never loved it as I love the magic loop. First, I were frustrated by the ladders I accidentally made when using DPNS, second I became fed up of hunting for a lost needle especially on double decker bus without any friendly knitters on board – if there were I did not have to look at all – it would be given back a few seconds later by a fellow knitter who can spot it very quickly indeed! But I digress, I have used the magic loop for years now, and would recommend it warmly. Using a good quality circular needle is essential otherwise you might end up with just a needle tips without a cord or a kink damaged cord (read: I have done both). It needs to be a minimum of 80 cm/32″ long, since you need to pull out a loop at each end, in a figure 8. Now, I have managed to knit two at a time with the aid of Liat Gat’s brilliant YouTube video – she demonstrates knitting both the English way and the Continental way here: Two at at time.
 I found it hard to solve the cast on issue on my own and needed a teacher to show me which method of cast on I should use so that the yarn would be in the right position, and the fact that you actually first cast on half the amount of the first sleeve, then the full amount for the second sleeve. Next, you pull out the cord in the middle and join second sleeve then work half of it before casting on remaining stitches for the first sleeve and repeat the join on the first sleeve. I also find it easier to work in a lace pattern across a magic loop, since I only work half a sleeve at a time instead of a quarter of it and hence do not need to move stitches from one needle to the other, when I end on a knit 2 together for instance. So I am knitting my lace sleeves a lot quicker than I thought I would and it is pure bliss!


